Adding PushCrew on your WordPress website is a super simple, 5 minutes task. Let's get started with the steps below to add PushCrew on your WordPress website.
- Sign up for a free PushCrew account here.
- Now go to the admin dashboard of your WordPress website. Inside your WordPress dashboard look for Plugins > Add New Plugin.
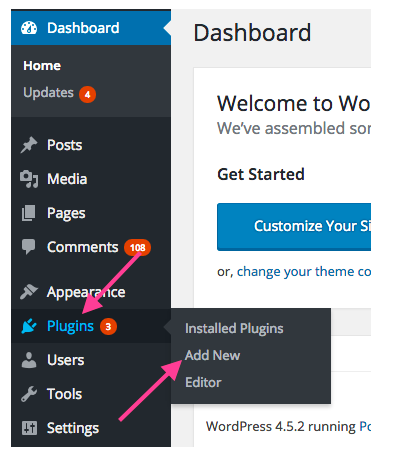
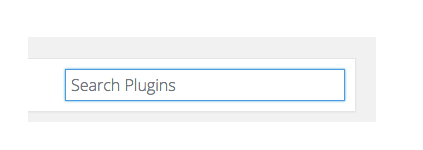
3. On the top right of this page, in the Search bar, look for 'PushCrew'.
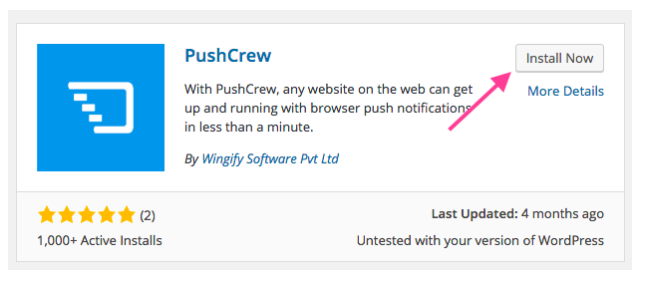
4. After you hit Enter, you'll see the search result show up PushCrew. Click on Install Now.
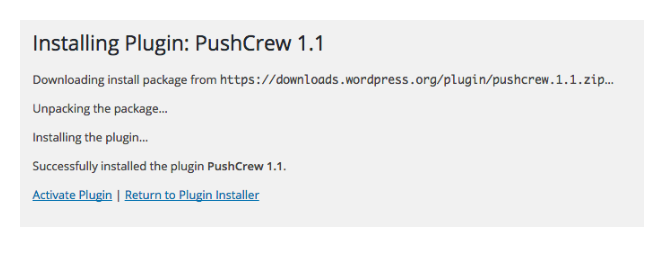
 5. After you click on Install Now, the PushCrew zip file will be added to your WordPress file and you'll see this screen. Don't do anything here.
6. Next, go to your WordPress Settings and find PushCrew Settings. Click on 'PushCrew'.
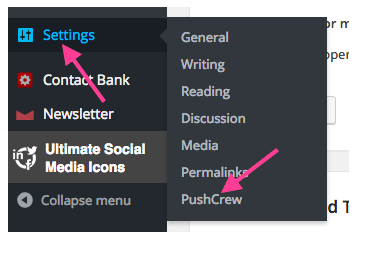
7. You'll be redirected to a new screen where you'll be asked to add the PushCrew Account ID.

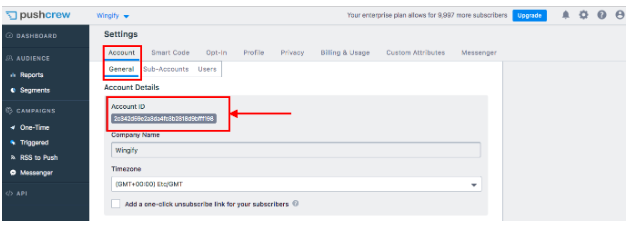
8. To get your PushCrew account ID. Go back to your PushCrew dashboard. Look for Account Settings, copy the Account ID, and paste it here.
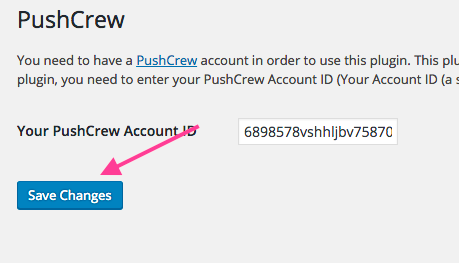
9. After you add the PushCrew Account ID in your WordPress dashboard, just click on ‘Save Settings'.
10. Hurray! You just added the PushCrew code on your WordPress website. You can now go customize the opt-in messages and icons in your PushCrew setting. And here's your cookie for the job well done! :)

